Configuration Database Tool of JCOP Framework
Setting Up the Database with ConfigDB
-
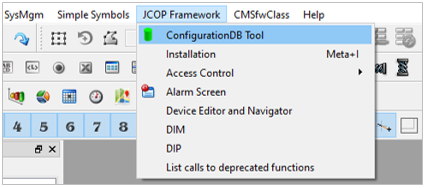
Hover over the "JCOP Framework" and click on "ConfigurationDB Tool" option.
-
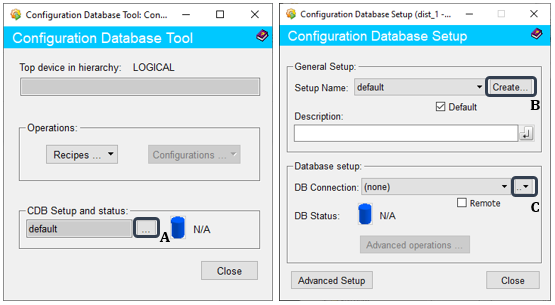
Click on the dropdown menu next to the dialog box (A) in the "CDB setup and status" section.
-
General setup section,
- In the next popup panel click on the "Create" button (B) of "Setup Name".
-
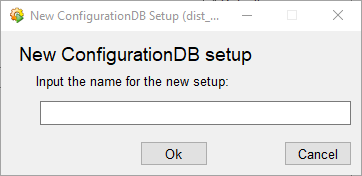
Include the database name in the new dialog box that will appear and confirm.
-
If required make the new database the default by checking the radio box.
-
Database setup section,
- Select "Create" option from the dropdown menu (C) of the "DB Connection".
-
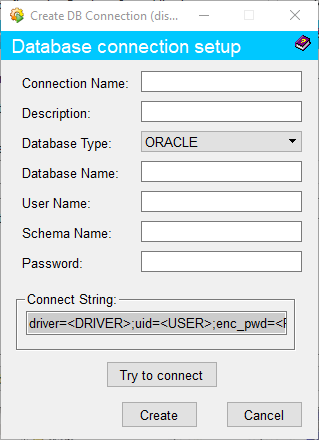
Complete necessary information in the new dialog box that will appear and confirm.
-
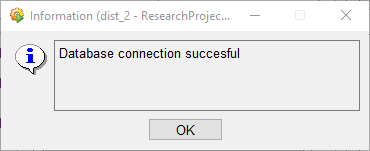
Click on "Try to Connect" and wait until the connection is set and then click "Create". If the connection was successful the below dialog box will appear.
Checking Database Status
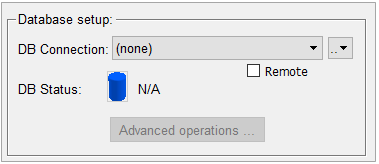
If the creation of the database is not defined then the DB status will give ‘N/A’ and turn into blue.
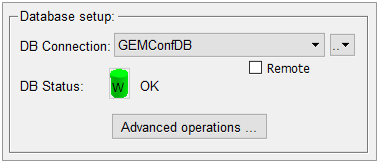
If the creation of the database is made properly then the DB status will give ‘OK’ and turn into green.
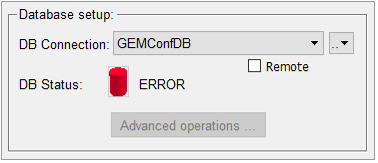
If the creation of the database is erroneous then the DB status will give ‘ERROR’ and turn into red.
Before setting up the DB configuration tool the user must have installed Oracle as an environment in the machine that is being used to run the project.
Setting Up ORACLE Environment
-
If the machine does not have Visual Studio installed then install 'Visual Studio x64 Redistributable 2010'.
Several Redistributable application setups are available in the dfs storage drive under Applications / Microsoft / Redistributable.
-
Download the appropriate 'Instant Client' packages for the platform the machine.
All installations require the 'Basic' package and installation instructions are provided in the directory.
Required versions of Oracle are available in the dfs storage drive under Applications / Oracle / Group / InstantClients.
-
Unzip the package into a single directory (i.e. instantclient_12_1).
-
Add the library loading path in the environment to the directory of the variable.
Ensure only one Install Client referenced in the path variable, or at least that the concerned version is the first to appear.
If the environmental variable has not been created previously, users must create a new environment variable to have TNS_ADMIN as the variable name and \cern.ch\dfs\Applications\Oracle\ADMIN as the variable value.
