Changing Recipe Settings
A set of standard values to be applied to the DPs in certain situations ae collectively referred to as a recipe.
Possible recipe types are HV settings, LV settings, Multichannel settings, and Gas Alarm settings.
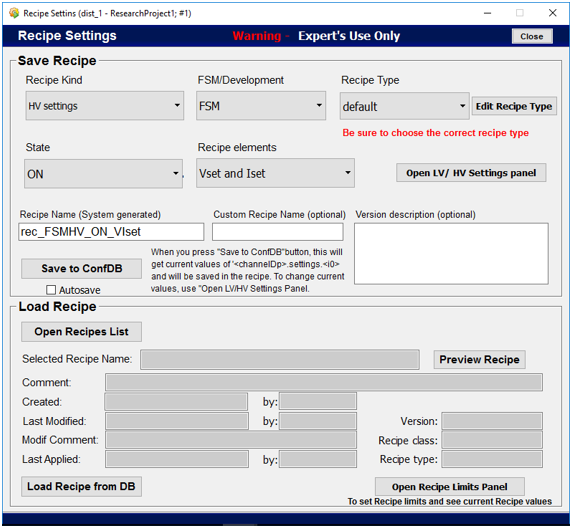
The Recipe Settings panel can be accessed by, clicking on the "Recipe Settings" button in the 'Settings' panel or by clicking on the "Save / Load Recipe" button in the main interface.
Save Recipe Settings
-
In the 'Save Recipe' section, provide the recipe kind and select the fact if it is on FSM or development mode.
-
Select the correct recipe type.
-
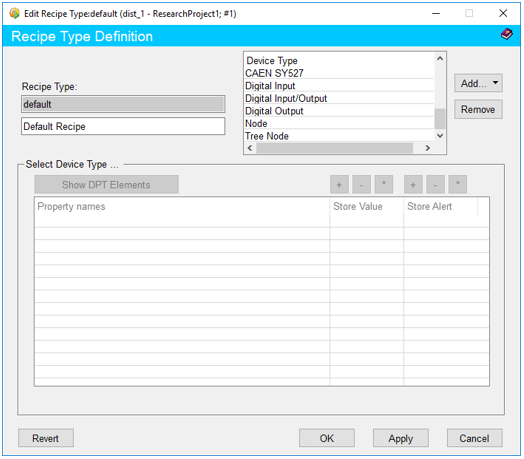
If necessary edit the recipe type by means of the panel accessible via the "Edit Recipe Type" button.
-
Give the state and elements for the recipe.
-
Click on the "Save to ConfDB" to save the recipe.
-
If values require changes after saving, click on the "Open HV/LV Settings" button and do the necessary modifications in the 'HV/LV Settings' panel.
Load Recipe Settings
-
Provide the recipe name and if necessary user can find the a list of recipes by clicking on the "Open Recipe List" button.
-
Load information by clicking on the "Load Recipe from DB" and preview to ensure the accuracy.
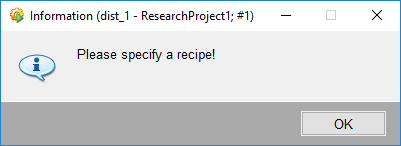
A recipe must be selected before sending a command to load the recipe from the database.
If the "Load Recipe from DB" button was clicked without selecting a recipe, this dialog box will appear.
-
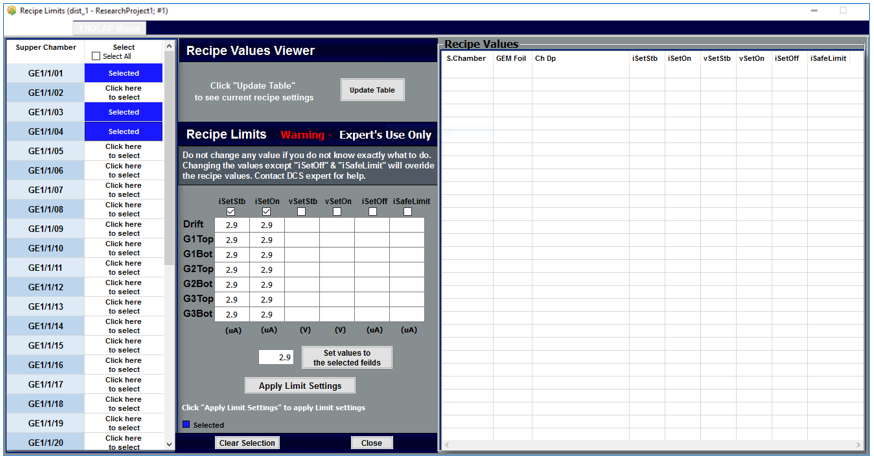
Use the 'Recipe Limits' panel to view and change limits. This panel can be opened by clicking on the "Open Recipe Limits Panel".
Viewing Current Recipe Values
-
Select one or more Super Chambers from the table in the left hand side.
- Background of the selected fields will change into blue.
- The text on the selected Super Chamber field will change into 'Selected'.
-
Click on the "Update Table" button.
- Information on selected Super Chambers will appear in the right hand side table.
Applying Changes to Recipe Limits
If changing limits individually,
- Move to the field where the change should occur.
- Type the new value in the field.
- Click on the "Apply Limit Settings" button to apply limits.
- Confirm the action in the popup dialog box.
If changing limits of multiple fields simultaneously,
- Select the column that requires changes by ticking on the box.
- Type the value in the small field available next to the button.
- Click on the "Set Values to Selected Fields" button to apply the typed value.
- Click on the "Apply Limit Settings" button to apply limits.
- Confirm the action in the popup dialog box.
Associated Dialog Boxes
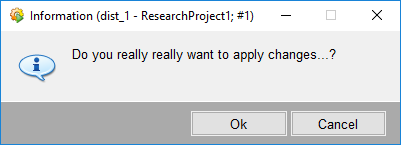
This dialog box appears to get the final confirmation before applying changes.
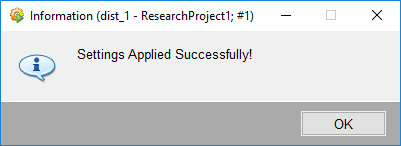
This dialog box appears if the requested changes were made successfully.
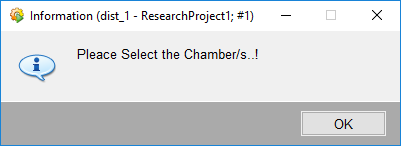
This dialog appears if the user has clicked on the "Update Table" button or the "Apply Limit Settings" button, without selecting a Chamber(s).
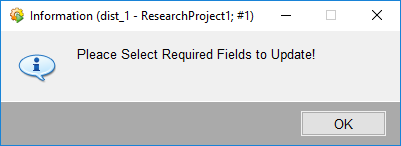
This dialog appears if the user has clicked on "Set Values to Selected Fields" button, without selecting a field(s).
Purpose of Buttons
- Update Table : Update table with information on selected Super Chambers
- Clear Selection : Remove all selected Super Chambers
- Set Values to Selected Fields : Set the value typed in the feild besides the button to selected property
- Apply Limit Settings : Apply all changes wwith regard to all property value changes
-
